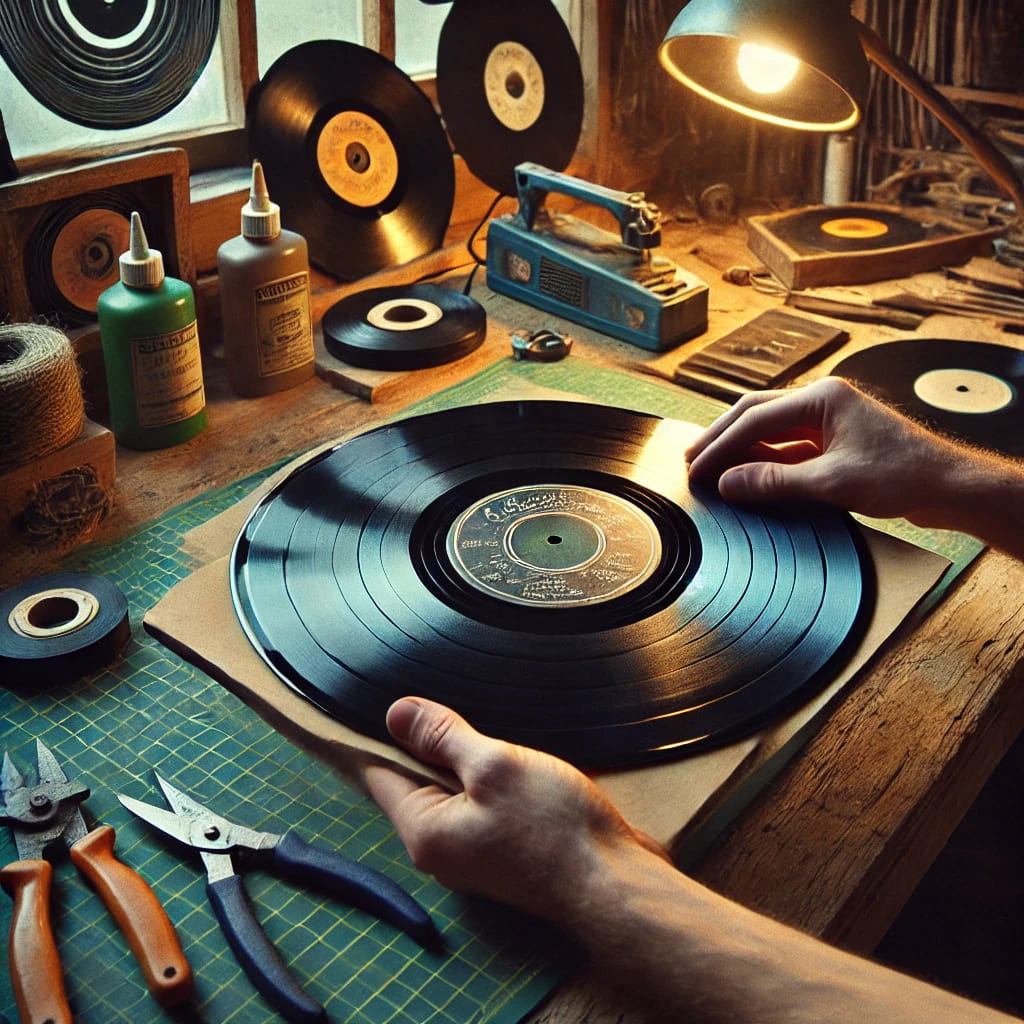
Recently, we have seen an increase in the number of vinyl record mirror in the home decor market. It is becoming one of customers’ favorite choices as it is sustainable and eco-friendly. Are you curious to know the whole sustainable process of making these mirrors? Let’s dive in.
Sourcing The Vinyl records
Similar to any other process, first of all, the raw material is collected. The brands start by sourcing the old vinyl records. But why do they use vinyl records? Because these are non-recyclable. Hence, reusing them to make mirrors is an eco-friendly choice. The brands collect the vinyl records from the following places:
Thrift stores and record shops
Many vinyl records are scratched or unusable in thrift stores and secondhand shops. Eco-conscious home decor brands buy these records to make mirrors.
Donations
Many record shops receive so many old vinyl donations from time to time. They give them to the brands for further vinyl processing.
Old collections
Many people like some artists and crafters love collecting old vinyl records. The raw material to make an eco-friendly mirror of vinyl can also be collected from them.
By collecting the raw material of pre-loved records, the mirror makers reduce waste. Not only this, but they also increase the life of these materials.
Preparing the record
Once the raw materials come into place, it is time to process the records to make a sustainable mirror. It generally involves the following steps:
Cleaning The Vinyl
As the raw materials can be dirty, the first step involves cleaning them thoroughly. They build dust, grime, and fingerprints over time which can reduce the appeal of mirrors later on. That’s why it is important to clean every record carefully with a gentle solution. This makes sure that no debris remains that could affect the adhesive process later on. This step, if done precisely, also reduces the chances of depleting the final appearance of the mirror vinyl.
Selecting the side for the mirror
This part is very crucial in vinyl processing. Some artists like to go with the record’s label side whereas many prefer the blank side. It completely depends on the kind of design or appearance someone is trying to give to a mirror vinyl record. If artwork or a brand logo is to be added, going with the label side is the best option. Different choices based on different situations give individual aesthetic appeal to the mirror.
Smoothing the surface
In general, vinyl records are flat. However with time, some also warp within. In such cases, it becomes important to make the surface smooth for an easy process of making a vinyl mirror. For smoothening, light pressure or gentle heat is used. It reshapes the vinyl accordingly and offers a smooth and even surface to attach the mirror later on.
Cutting and shaping the mirror
During the whole process, the mirror is also to be cut and shaped so that it matches the vinyl record’s size and design. It is important to perform this step with precision and care. It involves the following parts:
Choosing the mirror material
In comparison to traditional glass, eco-conscious artists pray for using lightweight, acrylic mirrors. Why? Because they are very easy to cut and there are fewer chances of them breaking down. So for such a project of making a vinyl record mirror, acrylic mirrors are the best.
Measuring and cutting
To give the exact fit, the measurements and later on the cutting part need to be very precise. The artists major the center label and every section of the vinyl carefully where the mirror is to be placed. Later on with the help of particular tools, the mirror is cut into a circular shape to match the size of the record.
Sanding and smoothing
After cutting the mirror properly, it is time to sand down the edges of the mirror. For what purpose? Remove any sharp points. It gives an aesthetic appeal to the eco-friendly mirror in addition to making it safe for home decor. A properly sanded & smoothened mirror looks professional as well.
Attaching the mirror to the vinyl record
In the end, after preparing the mirror, one needs to attach it to the record very securely. The key to a safe and proper attaching procedure is to choose the right adhesive, free from any toxic chemicals. After this, position the mirror vinyl properly to create a balanced and attractive design. In the end, apply the mirror by pressing firmly onto the vinyl.
Adding finishing touches
After attaching the mirror, the final touch can be given to increase the durability, appearance, and functionality of the sustainable mirror of vinyl. After the adhesive is set completely, polish the mirror. It will remove any fingerprints, smudges, or dust particles, if any. Eventually, it will give a clear and shiny finish to the mirror. One can also attach some hardware for support such as a backing hook or a hanging mechanism. Finally, a layer of eco-friendly sealant is to be applied to the vinyl mirror to protect its surface.
Conclusion
The complete sustainable process of making vinyl mirrors is both an interesting and precise one. Every step from choosing the right raw material to giving the final touches for its surface protection plays a crucial role in vinyl recycling.


